

Whether you’re landscaping your garden or re-doing the driveway, it can be extremely beneficial to know how to lay block paving. By taking the DIY method, you could produce exactly what you want and save yourself a reasonable quantity of money– something your bank balance will most likely thank you for. All you should do is obtain the right equipment and read this quick guide.
Organize How You Want It
The first step is to make a decision exactly how you desire your block paving to look. If you’re replacing old paving, exactly what didn’t you like regarding it? What enhancements could you make? You must think about the general shape, sensible aspects (such as size) and pattern of the bricks. It’s also a smart idea to think about exactly what colour bricks will well go with your residence– you don’t desire anything to clash.
Give Way For Your Block Paving
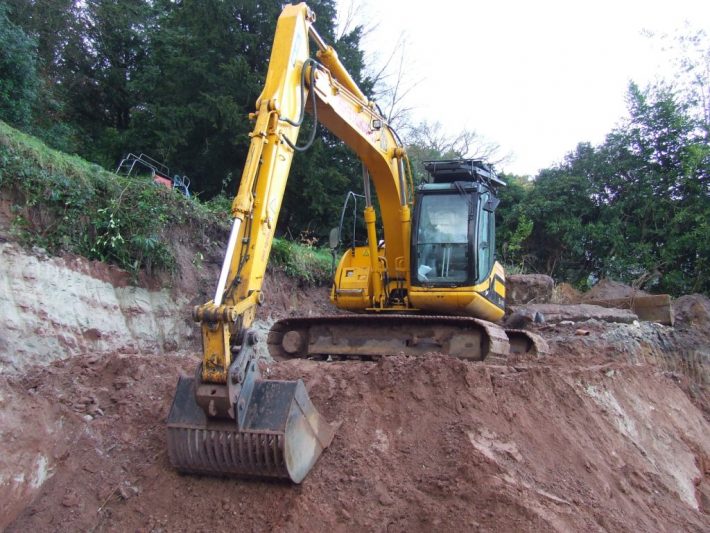
Next off, you’re going to wish to prepare the location. Define a location and dig it out, ensuring to dig far enough down to make sure that your paving will be even with the surrounding surface. For this, you need to use plant devices such as a miniature excavator or a JCB.
Lay Down A Sub-base
Develop a sub-base to form the foundations of your block paving. Your sub-base ought to be at least 100mm thick, and it can be a smart idea to put it above a layer of weed-fabric, to prevent weeds from growing through your sidewalk. Finish your sub-base by going over it with a vibrating place. This will certainly squash it down and level it. www.eks-construction.co.uk
Edge Restraints For Your Block Paving
Place edge restraints down to mark out the side of your paving. They ought to be firm and supportive as the outer area is the weakest part of the paving. They will likewise function as an overview for the shape of your block paving.
Screeding For Your Block Paving
Next, you’ll should screed the location, including in the foundations and making a rank surface area for the paving to rest on. Place about 50mm of slightly damp sharp sand down and use a shaking plate again to smooth and set. After that put down a second layer, all the same as the initial.
Lay Down The Bricks
Ultimately, you could begin setting down your bricks. For the very best finish, begin at the end of a slope and move up. The joints of the bricks ought to overlap– just like in a wall– so you’ll be entrusted spaces that you’ll need to fill out with cuts of brick. As soon as your block paving is down and all the brick are properly placed, sweep some kiln dried sand over the surface area. This will fill the spaces in between the joints.
See, not as well challenging! Block paving is really quite easy, and could offer you outstanding results if done right. When you’ve finished, take your time to relax and also admire all your effort- you deserve it!